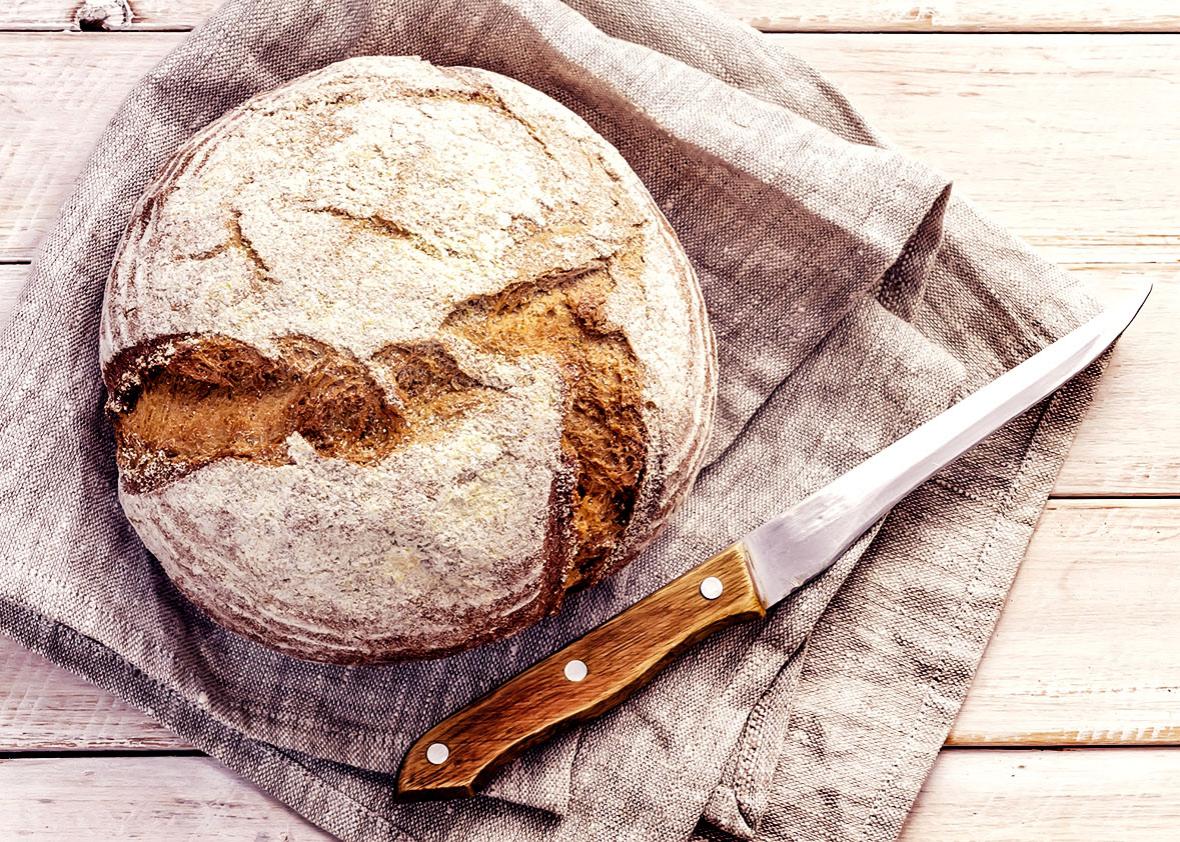
Making bread has acquired a reputation as an activity best left to professionals. From the historical perspective, this is a peculiar state of affairs. For thousands of years, we made bread with no difficulty, cooking it in primitive ovens or even on hot stones. It was a vital foodstuff from the moment of its discovery, around 6000 B.C., and for millennia afterward, in some regions providing up to 70 percent of daily calorie intake. But now, even adventurous home cooks who wouldn’t blanch at buying a countertop sous-vide system or quail at butchering a hog seem to believe that bread is beyond their powers and buy it from a store. Bread-making, it’s assumed, is arcane and unrewarding, punishing minor lapses in technique with dispiritingly thorough failure.
Perhaps the most fraught step in the bread-making process is kneading, in which the dough is balled-up and flattened again and again. This “develops the gluten,” an opaque phase with a forbiddingly scientific ring. Pretty much every English-language bread recipe ever published tells you to knead your dough for 10 minutes or so before letting it rise. A notable exception in this literature appeared in 2006, when Mark Bittman published Jim Lahey’s no-knead-bread recipe in the New York Times. In the accompanying article, Bittman claimed that you could make superior bread by forgoing kneading entirely. And indeed, Lahey’s recipe produced good, characterful bread—yeasty, chewy, and shaped like a bursting rugby ball. The recipe inspired countless discussion threads on food sites and an inevitable backlash.
If you followed this conversation, Lahey’s no-knead bread came as a revelation. What a relief—the toil of kneading, whose point was never clear anyway, was a thing of the past. You might have concluded, based on the spectacular results of the no-knead approach, that kneading was the baker’s primary site of inquiry and optimization: If you had figured out kneading—whether that meant doing it for 10 minutes or not at all—you had figured out bread.
I am here to tell you that this notion is false. The most important part of the bread-making process is neither kneading nor not-kneading, nor measuring with scientific accuracy, nor any technique per se. The most important thing is to leave the dough alone for long periods of time, over and over again, which is easy to do. Bread is dough’s destiny, and bread-making is like being a parent: Just as a child can be spoiled by too much interference with the natural processes of time, to make good bread you must leave the dough to its own self-creation. The challenge is internal: Can you suppress your need to fuss and fiddle, to make myriad tiny adjustments to a dish before you’re satisfied? It can be hard for some cooks (like myself), who feel like they’re not cooking unless engaged in a frenetic, four-burner free-for-all. But if you can achieve some measure of mastery over this inner, kitchen-destroying Tasmanian devil, you can make excellent, bakery-quality bread, be it boule, baguette, or batarde, that you wouldn’t hesitate to purchase from a professional baker.
“Leave the dough alone for long periods of time, over and over again”—that’s it. Every single step in the bread-making process is improved if it is followed by some period of sleeping, watching TV, reading a magazine, writing an opera, etc. To see why this is the case, consider how our prehistoric forebears discovered bread in the first place. First, they would have mixed ground wheat with water to make gruel, dense and bland. If they cooked it right away, the result would have been dense and bland. Better just to eat the gruel. But once they let the mixture sit around for a while, it would have started to bubble and froth, slowly changing from an odorless paste into a fragrant mixture of sugars and alcohols—what we call dough. When cooked, heat transformed the dough again, into something light, airy, and unexpectedly delicious. Our observant ancestors would have had no idea why that initial mixture of flour and water started to bubble as though alive, nor why it came out of the oven so radically changed. But they would have realized that it only happened if they waited.
In the 19th century, we discovered that tiny fungi called yeasts were responsible for this mysterious transformation. Nowadays, we use prepackaged yeast, from envelopes, jars, or, rarely, cakes; unless we are making sourdough, we don’t rely on yeasts in the atmosphere to colonize our dough. The longer the yeast is allowed to ferment, the more complex are the flavors in the finished loaf. That’s the first wondrous thing that happens if you take it slow.
As the yeast converts flour’s carbohydrates into flavor compounds and alcohols, it excretes carbon dioxide, filling the dough with tiny bubbles of gas. These bubbles will form the inner structure, or crumb, of your finished loaf. (Store-bought sandwich bread isn’t allowed to rise at its own pace and comes by its bubbles largely from industrial dough conditioners. Its crumb is more like cake than bread.) Since structure plays a large role in delivering flavor—otherwise, a carrot would be indistinguishable from carrot juice—it’s important to let the bubbles grow for quite a while, an hour or two, or four or five.
What happens when you poke a bubble? It pops. Every time you so much as jostle your dough, you are poking your hard-won bubbles. So be gentle, because no matter how many hours of fermentation and rising you’ve allowed, if dough goes into the oven deflated and flat, it will come out of the oven deflated and flat, not to mention bland. Every time you do anything to the dough—intense manipulations such as kneading and stretching, but also simply emptying the dough onto a countertop—cover the dough and walk away for at least 15 minutes. Let it revive and start to rise again before you do anything else.
The most psychologically demanding part of the process comes at the end. You have allowed the dough a leisurely fermentation and rise. Perhaps you even left it in the fridge overnight, bringing down the temperature and slowing the fermentation even more. You have respected the bubbles. You have given the dough its final shape and are ready to put it in the oven. But you can still blow it; disaster awaits unless you do one more thing. The thing is guess what: nothing. You have to leave the finished, shaped dough alone for at least an hour, and only then put it in the oven. This last waiting period is called “proofing,” in which the dough proves it is still alive by starting to rise again, nearly doubling in volume. You will want to skip the proofing, but do not, or there will be tears.
The only step that does not reward sloth is eating the finished bread. Most recipes seem to recommend letting bread cool for an hour or more after taking it out of the oven, but this is the height of perversity. After a brief cooling period, just long enough for the bread to finish cooking internally, wait no more. You can eat good bread at room temperature in any bakery in the world. There is only one place where you can eat it warm.
Rosemary Focaccia
adapted from America’s Test Kitchen
Time: 500 seconds of work, 116,100 seconds of sloth
Make the starter: Also called a preferment, the starter is a chemically rambunctious mix of flour, yeast, and water that creates much of the finished bread’s flavor. To make it, mix ¼ cup unbleached all-purpose flour with ¼ teaspoon active dry yeast and 3½ tablespoons warm water. One concession to technique you might make is to fetch a thermometer from your medicine cabinet and see that the water is between 100 and 110 degrees Fahrenheit. At that temperature, water feels barely warm to the touch, so your finger also works. Stir until uniform, cover with plastic wrap, and leave undisturbed for six to 24 hours, or longer.
Finish the dough: To the starter add 1 cup flour, 1 teaspoon active dry yeast, and ½ cup plus 2 tablespoons warm water. Mix with a wooden spoon or in a stand mixer until uniform. The dough will be very wet. Cover and leave undisturbed for a period called the autolyse (“self-eating”), in which flour slowly absorbs water. Salt interferes with this process, so stir in about a teaspoon of salt only after 15 minutes of autolyse, and then stir in another tablespoon or two of flour. Cover with plastic wrap and leave it alone.
Rise, ferment, fold: Let the dough rise and ferment for as long as you like—an hour, a few hours—while doing something else. Then dust the dough with flour and gently lift it out of the bowl with floured hands. The dough will be very wet and hard to handle. Let it stretch, then fold the dough over onto itself. Stretch and fold a few times. Return the dough to the bowl and re-cover, then leave it alone for an hour or more. Repeat the stretch-and-fold step at least once, but as many times as you like.
Shape and cook: Into a cast iron skillet or square baking dish no more than 12 inches across, pour a generous amount of olive oil. Sprinkle in coarse salt and chopped rosemary. Empty the dough into the dish; loosely form it into a ball; and coat it in the oil, salt, and rosemary. Cover and leave it alone for at least 15 minutes, or as long as you care to.
With your fingers, spread the dough out to edge of the dish. If the dough resists, cover and leave it alone for a few minutes before trying again. The dough should be lightly soaked in olive oil, with small pools of it on the surface. If you are inclined, pop any very large bubbles on the surface with a fork; otherwise they will swell enormously in the oven until paper-thin.
Turn the oven to 500 F. Cover the shaped dough with plastic and proof it, about an hour, while the oven preheats. Lower the temperature to 450 F and bake until the focaccia is yellow-gold, with some darker brown spots where the dough is highest, 20 to 30 minutes.
Let it cool briefly on a rack or dry cutting board before eating.